How to Switch Azure Active Directory Tenant Using PowerShell
Problem
We can have more than one tenants or directories in Azure Active Directory (Azure AD). If we connect to Azure AD using either Connect-AzAccount or Connect-AzureAD cmdlet, we will connect to default tenant which might be not what we want.
In this blog post, we will walk you through how to switch tenant or directory in Azure AD using PowerShell.
Solution
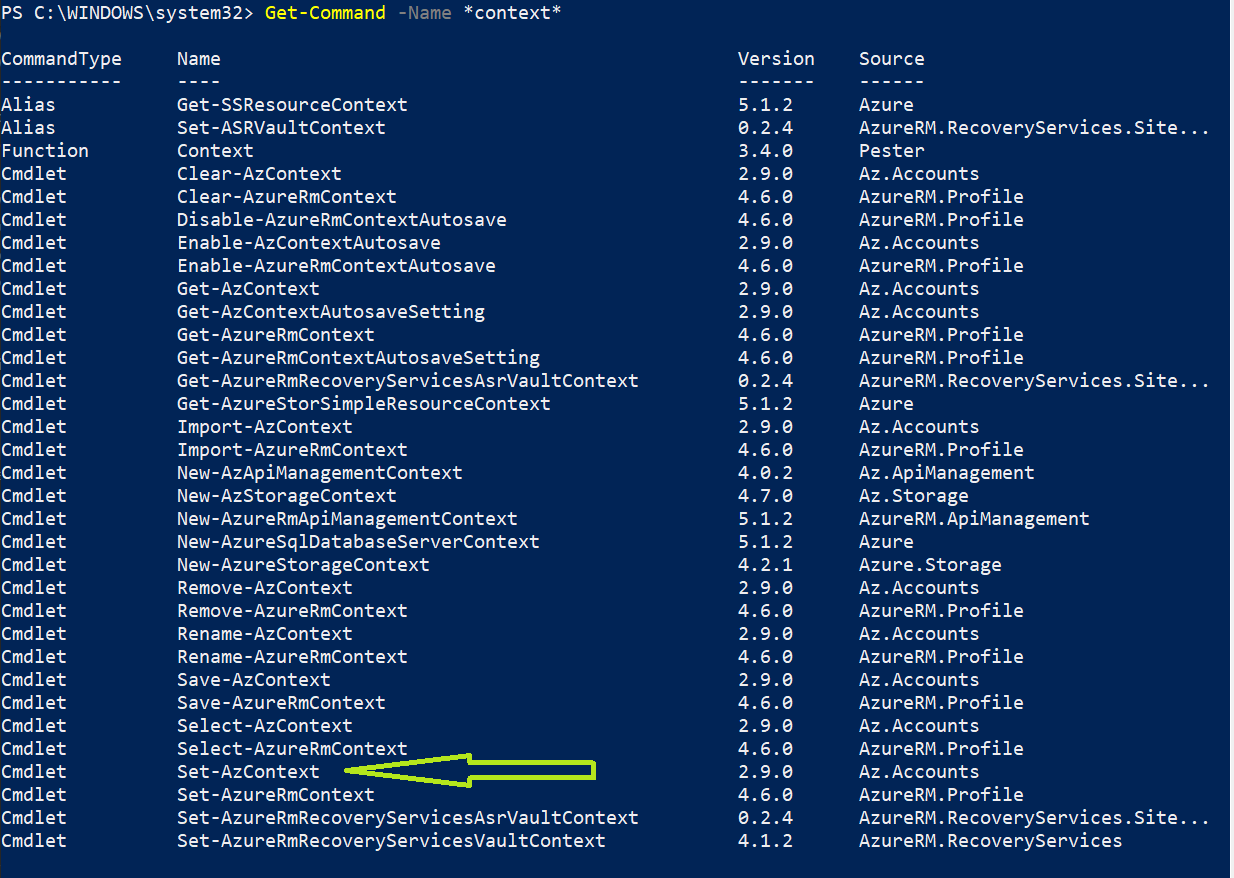
Using Set-AzContext Cmdlet
To switch to other tenant, we can use Set-AzContext cmdlet. However, before using this cmdlet we must connect to our Azure AD first using Connect-AzAccount.
We cannot connect using Connect-AzureAD because Set-AzContext cmdlet is in Az.Accounts module, so to use this cmdlet we must have installed Az module.
Install-Module Az
Connect-AzAccount
After connect to Azure AD, we can list all available tenants
Get-AzTenant

We can see above there are some tenants that we can choose. In this case, we will switch to byteinthesky tenant by specifying TenantId.
Set-AzContext -TenantId bc1c4faa-ed08-429b-a99e-bf30696f78f2
Connect directly to Tenant
If we remember some properties related to the domain like TenantId, Domain, etc. we can directly connect by specifying the property.
Connect-AzureAD -Domain "byteinthesky.onmicrosoft.com"
# or
Connect-AzureAD -TenantId bc1c4faa-ed08-429b-a99e-bf30696f78f2
# or
Connect-AzAccount -Domain "byteinthesky.onmicrosoft.com"
# or
Connect-AzAccount -TenantId bc1c4faa-ed08-429b-a99e-bf30696f78f2
Conclusion
In order to switch tenant or directory in Azure Active Directory, we can use Set-AzContext. But, if we remember some properties related to tenant like TenantId or Domain, we can use it to connect directly to the tenant.