How to Zip and Unzip File with Password in PowerShell
Problem
PowerShell has built-in cmdlet to zip and unzip files: Compress-Archive and Expand-Archive. The problem is we cannot add password to protect the files we want to compress.
In this article we will explore several ways to zip and unzip file with Password in PowerShell.
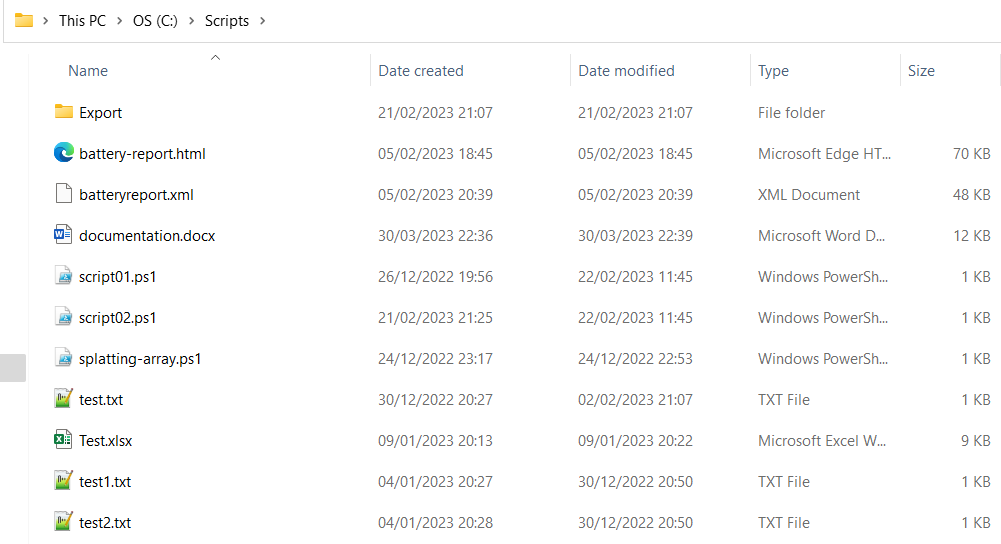
As the context, we have following directory structures containing a folder and some files. We will perform files compression based on this directory.
Using 7Zip4Powershell Module
To compress file with password, we can use 7Zip4Powershell module. To use the module, we need to install it first. The module can be found in PowerShell gallery. As of this writing, the latest version is 2.3.0.
Install-Module -Name 7Zip4Powershell
This module has four commands: Compress-7Zip, Expand-7Zip, Get-7Zip and Get-7ZipInformation.
To find the list of commands from the module, we can type Get-Command -Module 7Zip4Powershell.

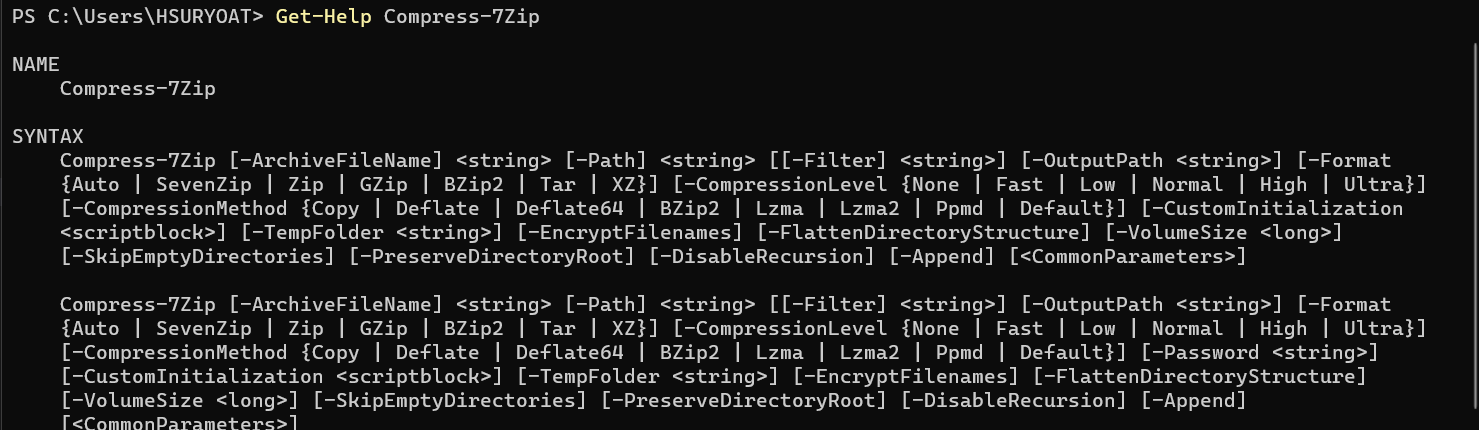
You can type Get-Help to get the syntaxes of each command, for example Get-Help Compress-7Zip.
For the source code and usage, you can also take a look to github repository.
Compress File
To compress the file, we can use Path parameter to locate the files or directory we want to compress. Then, we can also use ArchiveFileName parameter to set the name of compressed file as well as OutputPath parameter to set the compressed file target location.
To protect the file with password, we can add SecurePassword parameter to set the password as follows:
Compress-7Zip -Path 'C:\Scripts\' -ArchiveFileName 'Test.zip' -OutputPath 'C:\Archives\' -Format Zip -SecurePassword (Read-Host "Enter password" -AsSecureString)

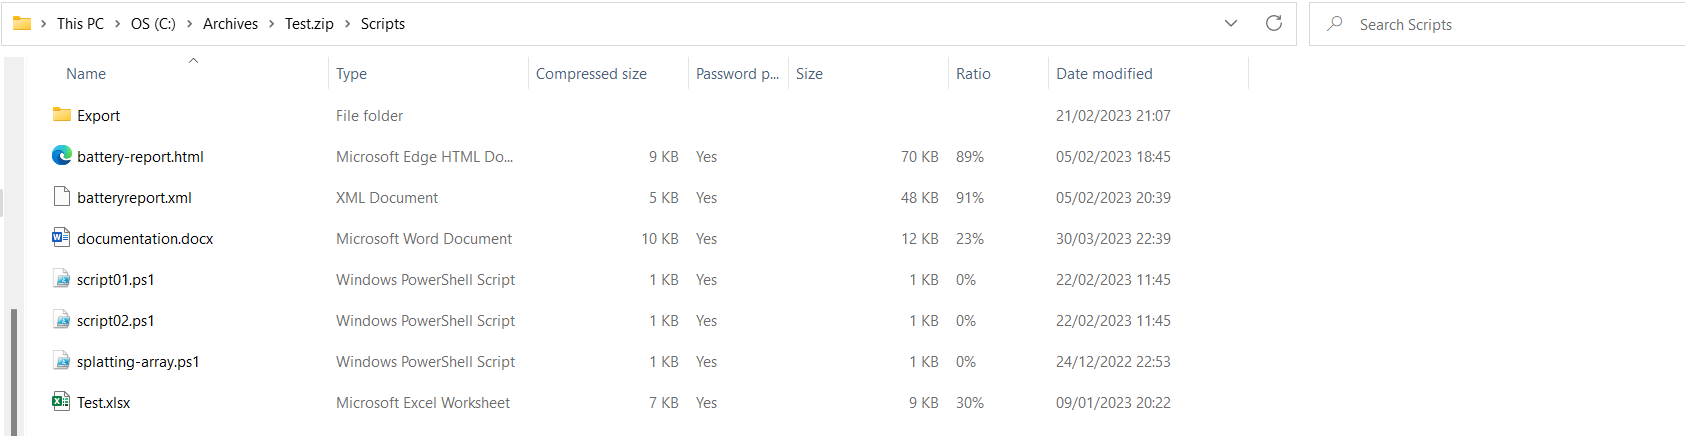
The compression result will look as follows:

Not only enable password protection, this module also allows we to use other archive formats such as 7z, bzip2, tar. To change archive format, we can use Format parameter.
Compress-7Zip -Path 'C:\Scripts\' -ArchiveFileName 'Test.zip' -OutputPath 'C:\Archives\' -Format SevenZip -SecurePassword (Read-Host "Enter password" -AsSecureString)
There are other parameters that we can use just like using 7-Zip File Manager application to compress/archive the file manually like CompressionLevel, CompressionMethod, etc.
Extract File
To extract the file, we can use ArchiveFileName parameter to define the file we want to extract and TargetPath to locate extraction result.
If the file is password protected, we can also use SecurePassword parameter and when we enter the password we should use AsSecureString parameter to hide the actual password.
Expand-7Zip -ArchiveFileName 'C:\Archives\Test.zip' -TargetPath 'C:\Files\' -SecurePassword (Read-Host "Enter password" -AsSecureString)
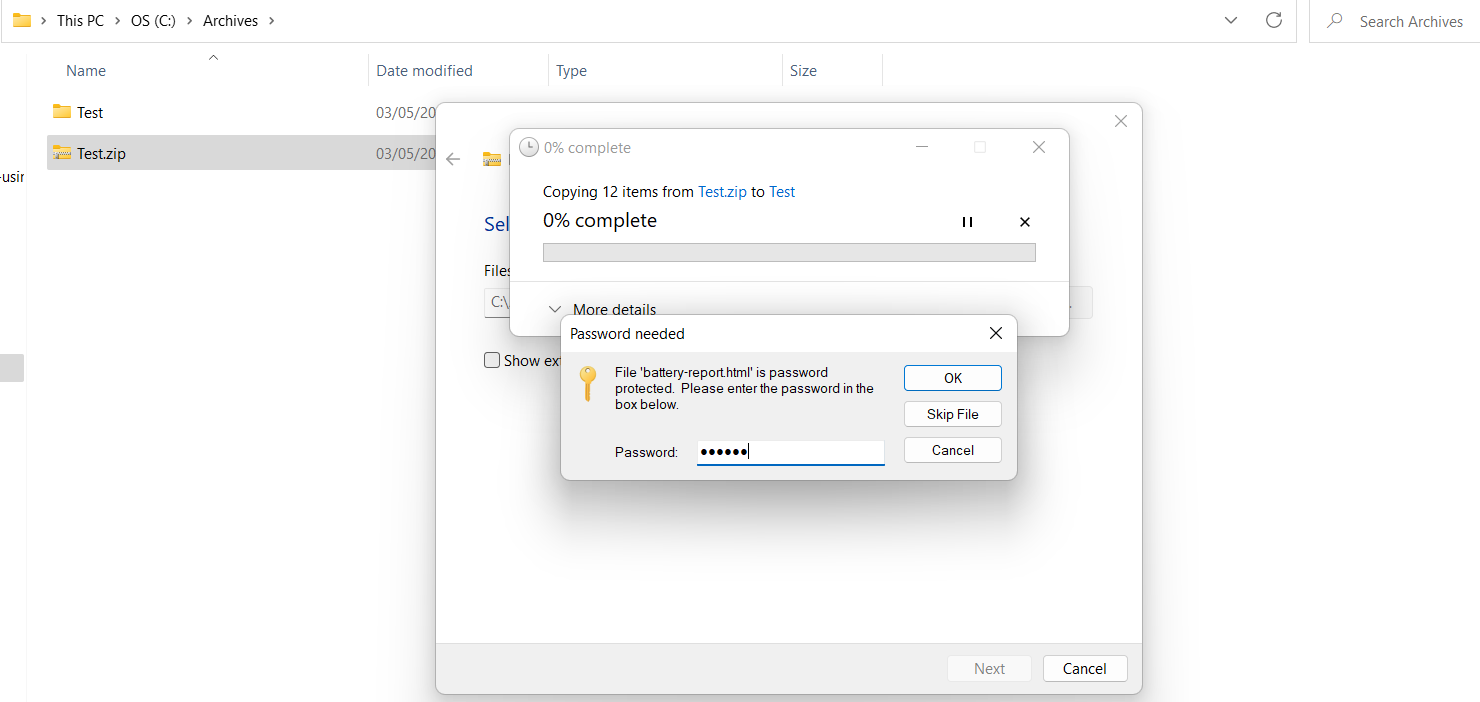
If we extract the file manually, it will look like as follows where later we must enter the password:
Get archived file information
To get the information of archived file, we can use Get-7Zip or Get-7ZipInformation cmdlet.
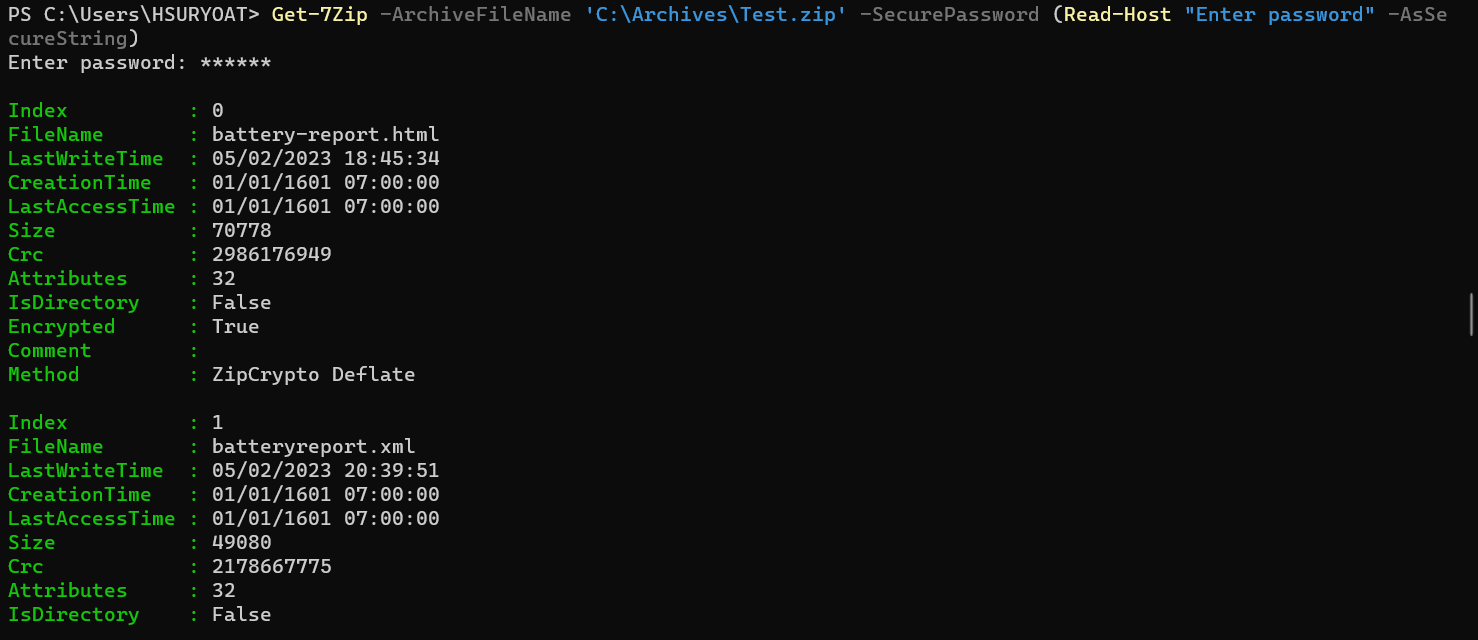
Get-7Zip cmdlet will display the information of each files or directories contained inside archived file.
Get-7Zip -ArchiveFileName 'C:\Archives\Test.zip' -SecurePassword (Read-Host "Enter password" -AsSecureString)
On the other hand, Get-7ZipInformation cmdlet will display only the information of archived file as a whole such as its size, fullpath, format, etc.
Get-7ZipInformation -ArchiveFileName 'C:\Archives\Test.zip' -SecurePassword (Read-Host "Enter password" -AsSecureString)

Using 7-Zip Command Line
This method requires us to have 7-Zip installed on the machine. So you have to locate installation location of 7-Zip. Typically, this is installed at C:\Program Files\7-Zip and the following examples will refer to this path.
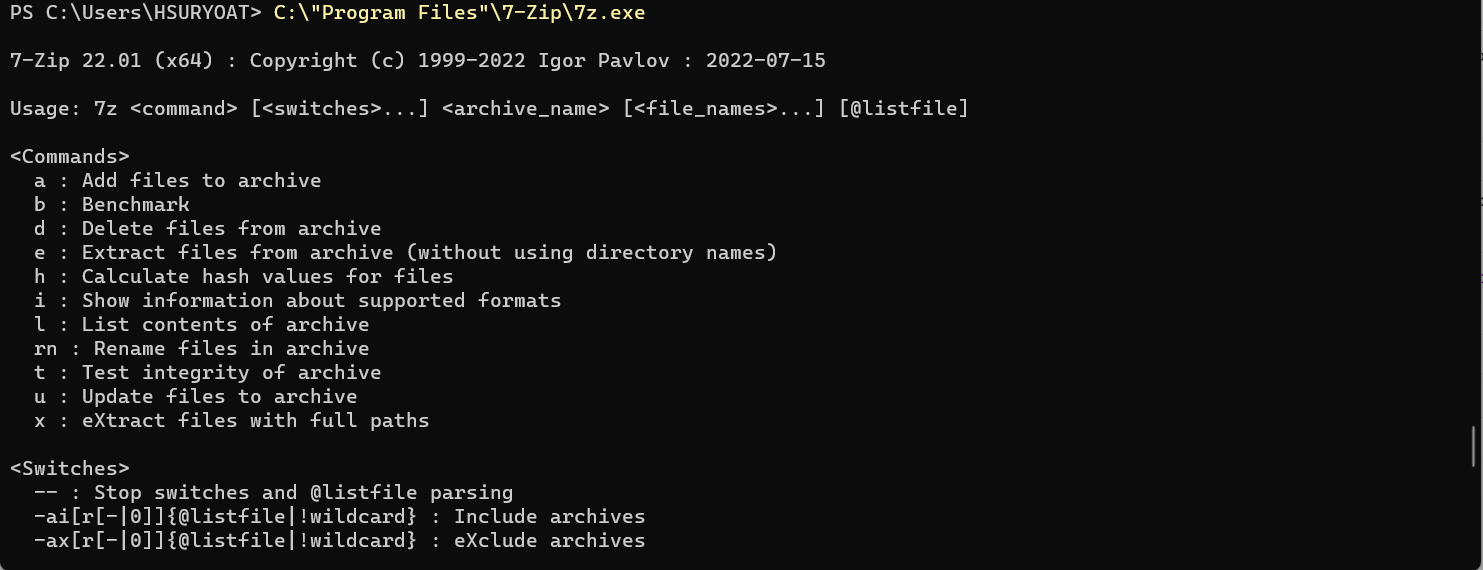
To invoke 7-Zip process, we can use call operator & or .. To find the syntax, you can type C:\"Program Files"\7-Zip\7z.exe in PowerShell.
Compress Files
To add or archive files or directories, you can use a as the command, then supplying all necessary parameters. If we want to set password, we can use -p as the switch.
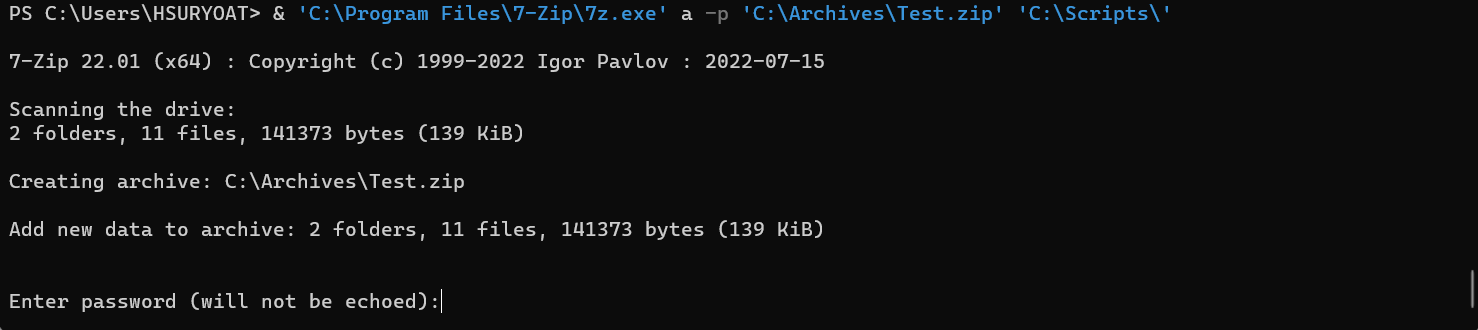
Following example will archive the directory C:\Scripts\ and store the archive file at C:\Archives\ with the name Test.zip.
& 'C:\Program Files\7-Zip\7z.exe' a -p 'C:\Archives\Test.zip' 'C:\Scripts\'
After executing above command, it will ask you to enter the password as follows:
Extract Files
To extract the file with full paths, you can use x as command then set the zip file you want to extract.
You might also need to set the output directory using -o switch. This switch is pretty weird that you must append the directory path with -o switch, so there will be no space between them.
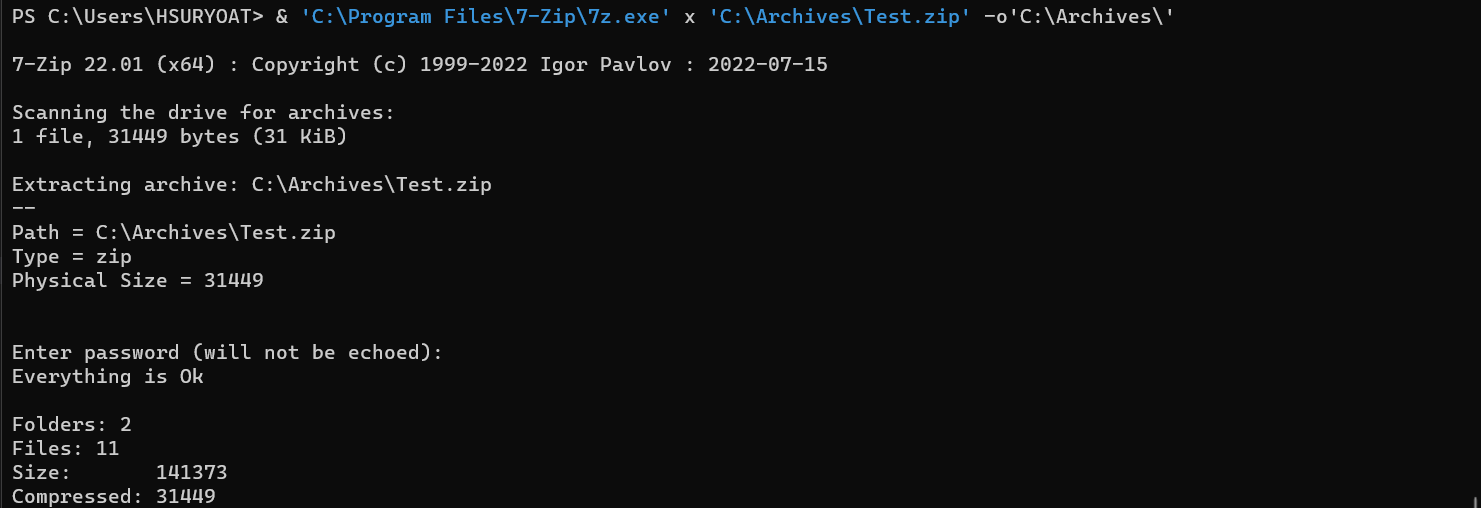
& 'C:\Program Files\7-Zip\7z.exe' x 'C:\Archives\Test.zip' -o'C:\Archives\'
After executing the script, it will ask you to enter the password.
Delete Specific Files from Archive
You could also remove specific files from archive file by using d as command. Following script will remove all txt files from archive file.
To find all the files you want to delete, you also need to specify -r switch to recurse the directory and its subdirectories.
& 'C:\Program Files\7-Zip\7z.exe' d 'C:\Archives\Test.zip' *.txt -r
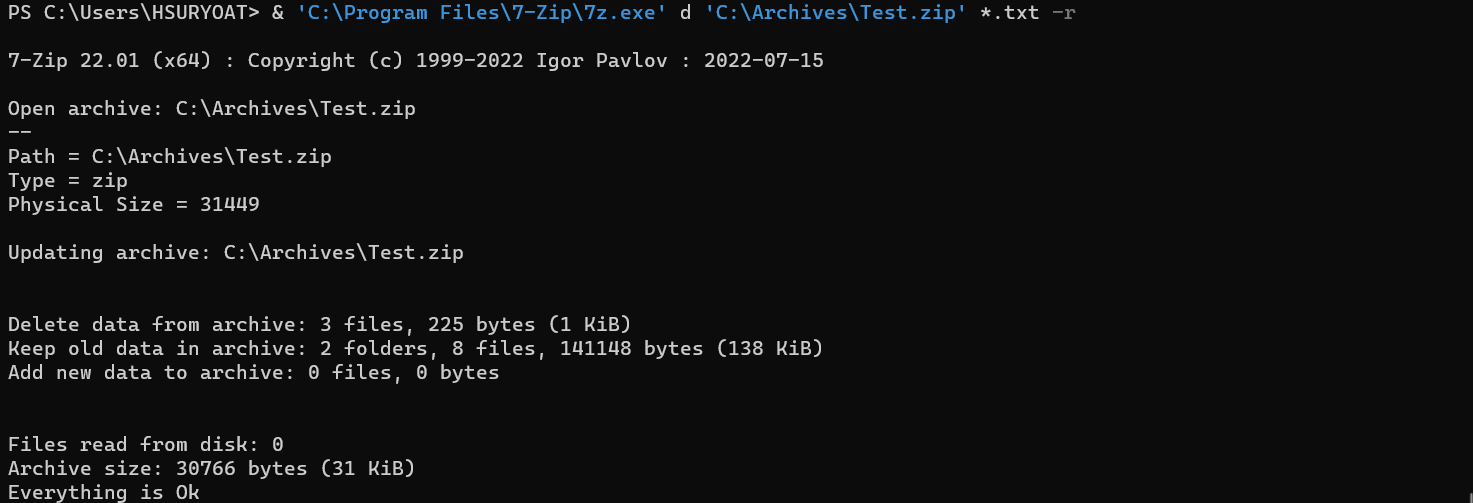
If you inspect the result, you won’t see txt files anymore from inside the archive file because it’s already removed by above script.
Conclusion
In PowerShell, in order to zip and unzip file with password, we have two ways to achieve it. We can install external module 7Zip4Powershell or we can also run 7-Zip command line through PowerShell. The former doesn’t require us to install 7-Zip application but the latter does.
Either way, not only we can zip and unzip files but also we can use other 7Zip functionalities such as archiving using various Zip formats like Zip, 7z, tar and get the information of archive file content through PowerShell script.